

01 / Choose and configure
The right clock for your location.
Set the quantity and choose any requested options. Add another configuration if you need different add-ons.
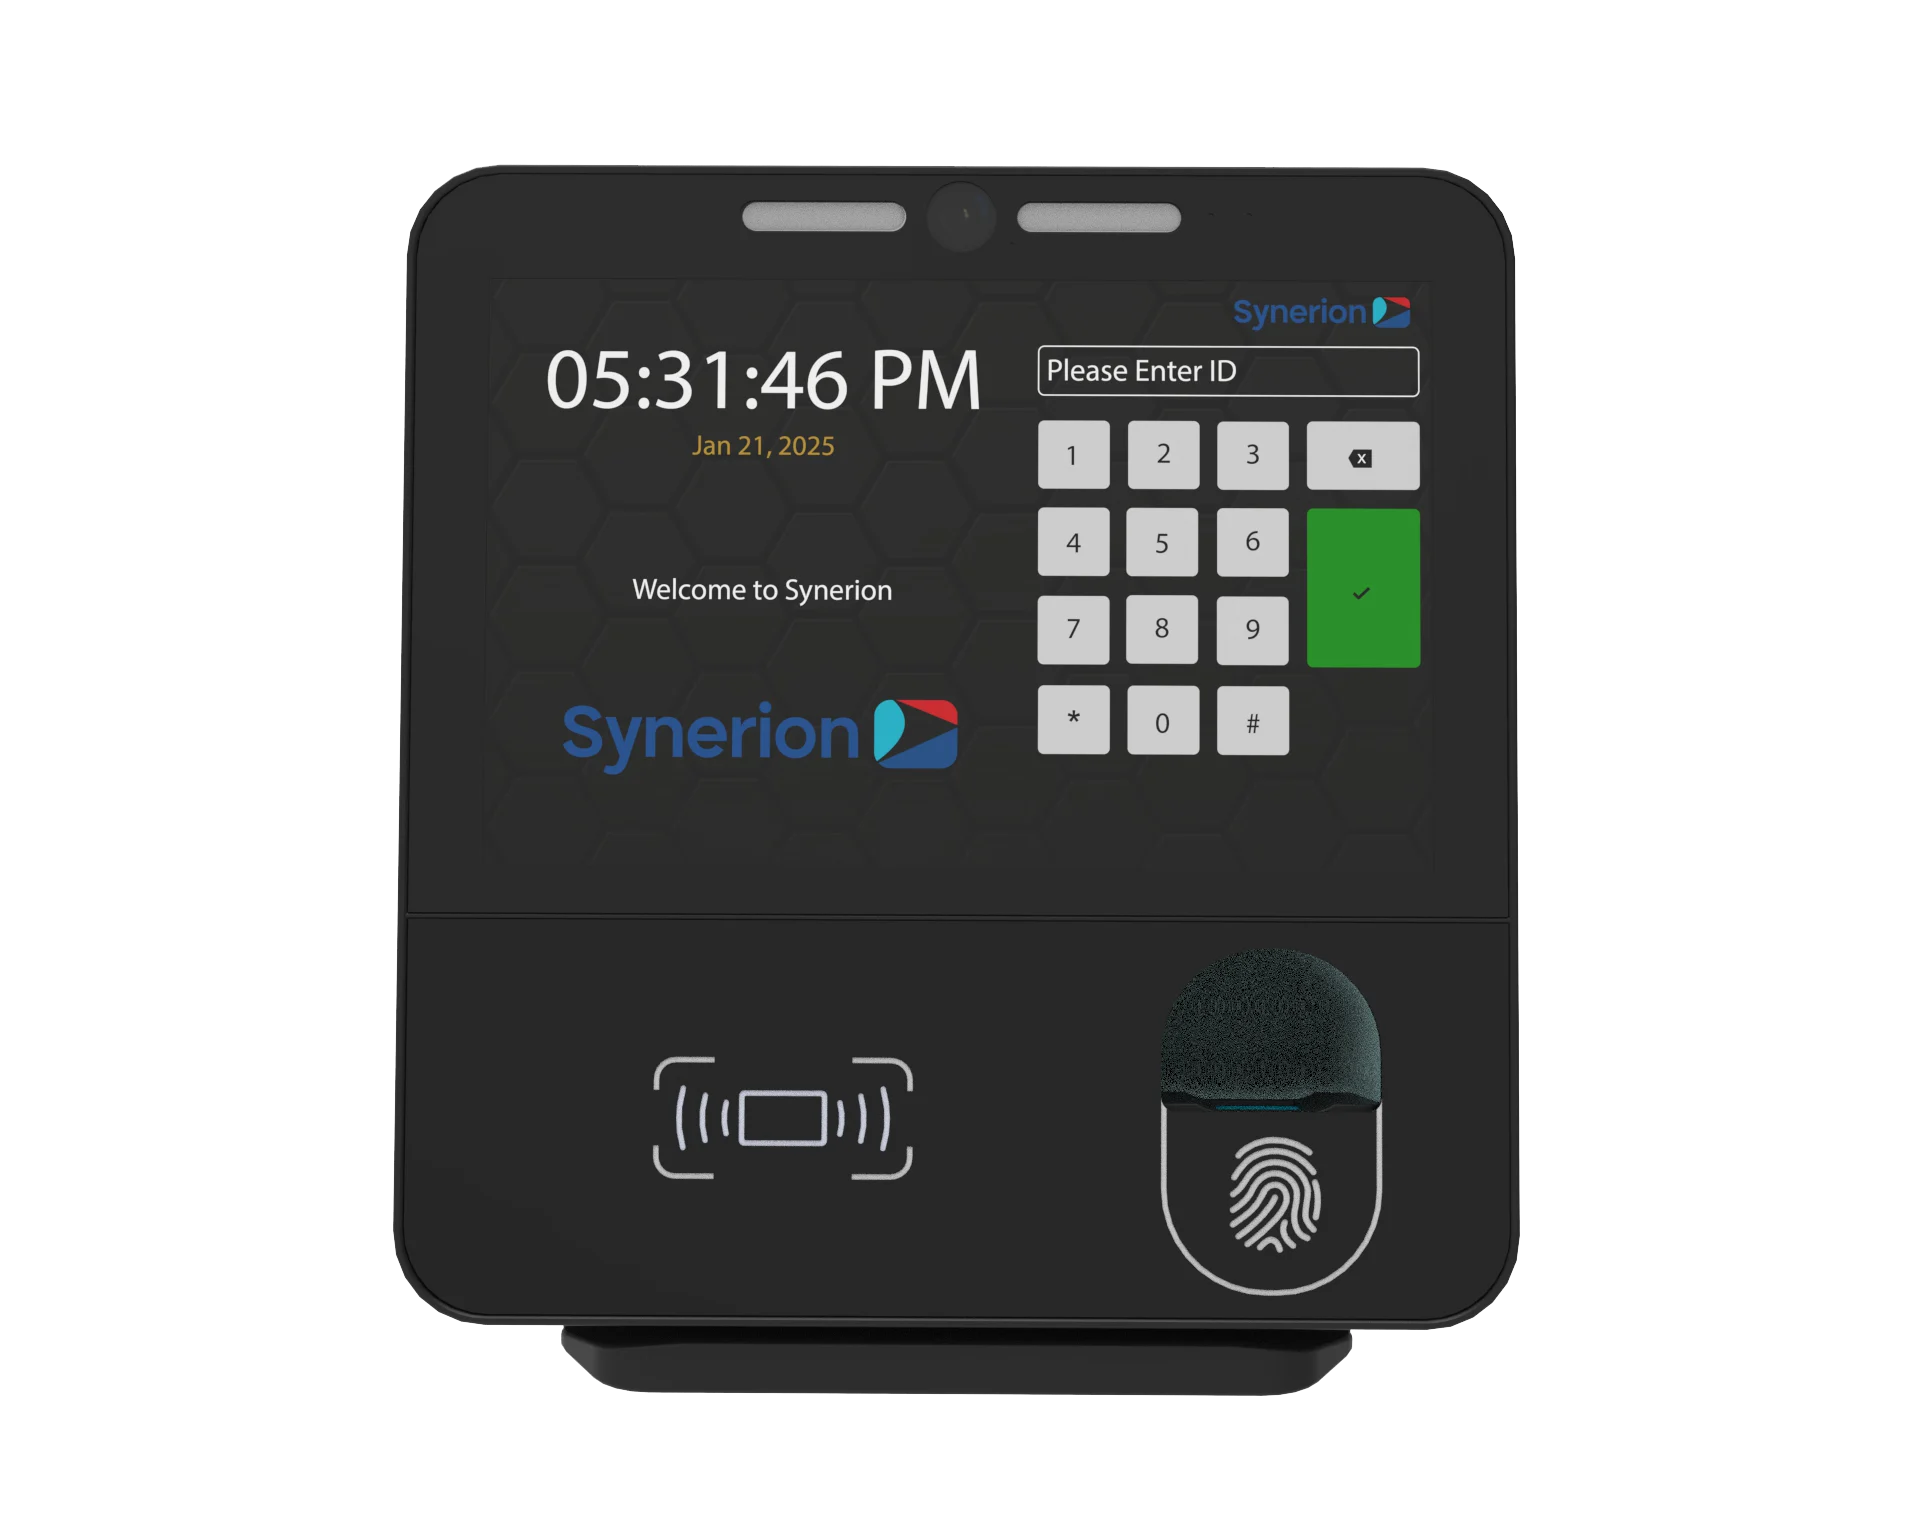
Synerion Fusion
An 8-inch biometric clock
A touchscreen terminal with face, fingerprint, and badge options for your configured time capture setup.
8-inch touchscreenFace identificationFingerprint optionHID / RFID optionsEthernet
Product sheet (PDF)02 / Review and request
Your clock request.
Review your quantities and options, then tell us who should receive the order form.
03 / Install with the right instructions
Resources for Fusion.
Download the product sheet for your model. Installation guidance is model-specific. Confirm the instructions match the unit and configuration you receive.
Silent walkthrough with on-screen instructions.
Install Fusion, step by step.
This walkthrough uses the supplied Fusion front panel guide. It covers positioning, cable routing, the seven mounting steps, and enrollment considerations.
Check local accessibility requirements before choosing the camera height. Do not remove the optical tamper reflective strip.
Open the full guideRead the Fusion mounting steps
The mounting instructions below are extracted from the supplied guide. Read the full PDF for the diagrams, positioning guidance, and other installation information.
1. Release the bracket
Remove wall bracket securing screw to release wall bracket from Fusion.
2. Mark the fixing points
With the wall bracket against the wall, mark the four screw mount fixing points (C) and the preferred cable routing position.
3. Fit the wall bracket
Drill holes in the wall and mount the wall bracket with screws taking care to feed the cables through the bracket aperture.
4. Connect the cables
Offer the Fusion unit close to the wall bracket and connect Ethernet and/or power cables.
5. Align the terminal
Position the Fusion unit slightly above the wall bracket with its back parallel with the wall and make sure all cables are free to move.
6. Slide onto the bracket
Centralize the Fusion unit against the wall bracket and slowly lower the terminal by sliding it down the wall until metal tangs ‘A’ engage into slots ‘B’.
7. Secure the base screw
With the terminal fully down until it stops against the wall bracket re-fit the M4 screw in the base making sure to press the lower portion of the terminal into the wall to make sure it sits snug against the wall.